First steps
The short path from zero: what to do first, how to earn caps, how to gather and how to craft. Every number here comes from the game files and the game server, so this page follows the game when it changes.
What to do first
- 1
Finish the tutorial quests
You start at Dawn's Rest Refugee Camp. Emma gives you these quests one after the other; they teach you to gather, fight, buy and craft.
- Asks forGives
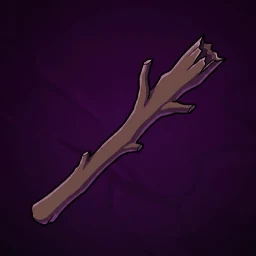 Wooden Stick
 Foraging Mastery+250 XP
 - Asks forGives
- Asks forGives
- Asks for
- 2
Craft your first tools
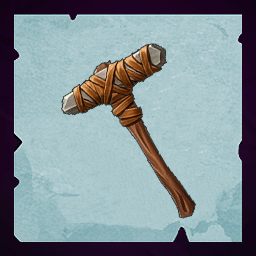
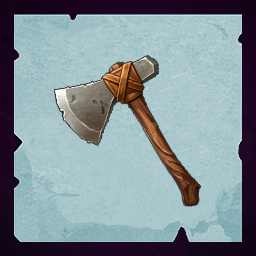
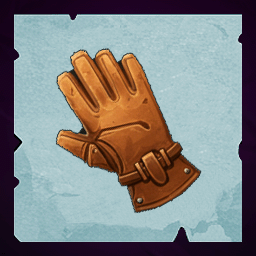
The last tutorial quest gives you the manuals for your first tools. Each tool opens a kind of resource.
- Lets you gather
- Lets you gather
- Leather: crafting Cure: Leather · processing Raw HideLets you gather
No facility or skill needed: craft them anywhere.
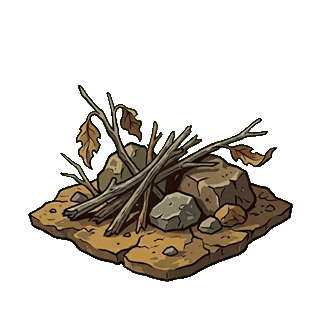 Debris
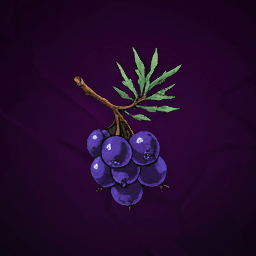
  Juniper Berries Bush need no tool, so you can start right away.
 - 3
- 4
Pick your fights
With the
Wooden Stick from the tutorial and no armor, a new character beats 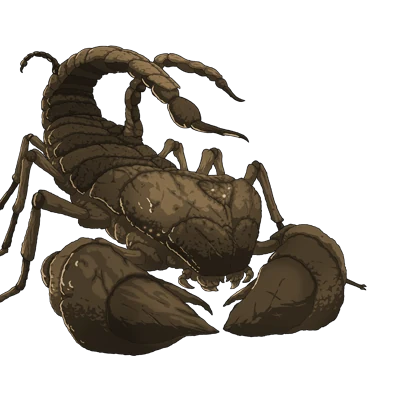 Small Scorpion and loses to almost everything else.
 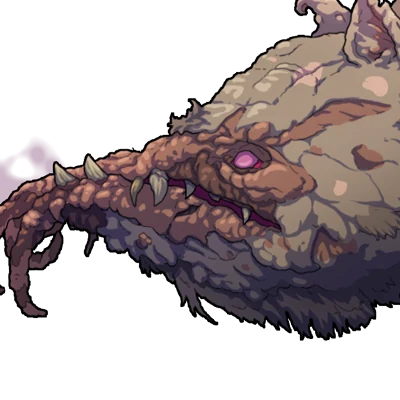 Small Mutated Rat can go either way. Check an enemy before you track it: a lost fight costs time and health.
 - 5
Train what you use
There are no levels and no classes: a skill goes up when you use it. Masteries open tier 2 gear at level 4 and tier 3 at level 7. Without a subscription, skills stop at level 4.
How to get stronger → What each tier asks for Plan how to train a skill
- 6
Unlock the post office and the rest
Some parts of the game only open when you finish a quest chain. The post office is the one to do early: it lets players send items and caps to each other.
- Post office: sending and receiving items and caps by mail
- Choosing what to eat after a fightThe Last Diner (Part 4) 8 quests in order · starts with Emma at Dawn's Rest Refugee Camp · needs
 Vitality lv 2 Plan it
 - Virtual Arena
- Entering red zonesHolding Pattern (Part 2) 2 quests in order · starts with Wesley at Frontier · needsVitality lv 5 Plan it
- 7
Put the wiki to work for you
With an account and a character on the wiki, every page shows what you can already use, craft and gather, and the planner starts from what you have. You can send screenshots of the game instead of typing.



How to earn caps
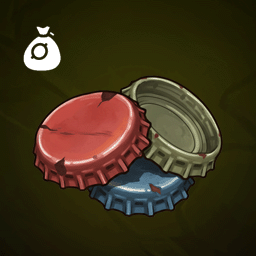
Caps come from NPC traders and from other players. Quests pay very little.
Selling to NPC traders
NPC traders buy a short, fixed list of things, at the same price in Twin Rocks, Dawn's Rest Refugee Camp, Aniid Kin, Prosperity, Frontier. They take any amount.
| Item | NPC pays | How a new character gets it | Caps an hour |
|---|---|---|---|
 Wood Wood | 20 caps | gather 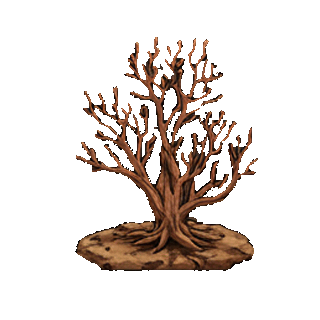 Dead Tree ✓ you can already Dead Tree ✓ you can already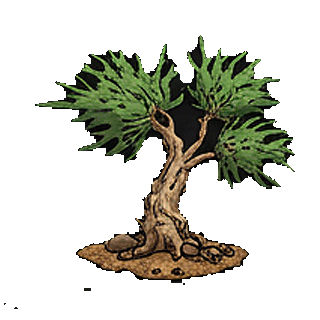 Ash Tree needs more skill or a better tool Ash Tree needs more skill or a better tool | 3,600 caps |
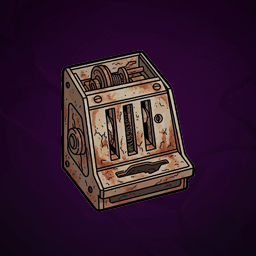 Corroded Coin Mechanism Corroded Coin Mechanism | 75 caps | hunt  Arcade Revenant a new character wins 0% Arcade Revenant a new character wins 0% | — |
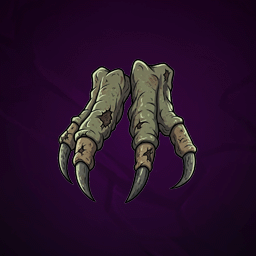 Irradiated Claws Irradiated Claws | 60 caps | hunt  Rad Runner a new character wins 0% Rad Runner a new character wins 0% | — |
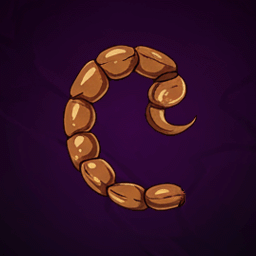
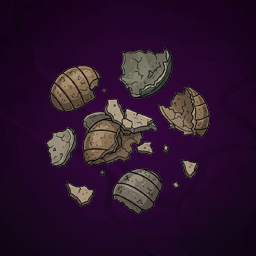 Chitin Scraps Chitin Scraps | 50 caps | hunt 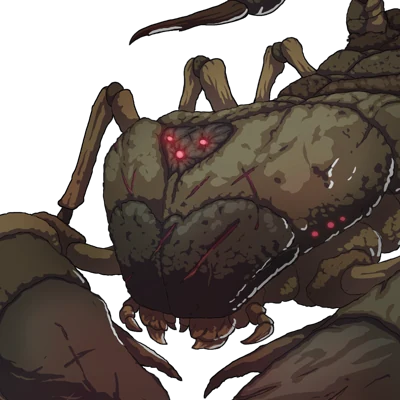 Giant Scorpion a new character wins 0% Giant Scorpion a new character wins 0% | — |
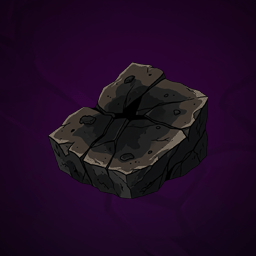 Dried Ink Pigment Dried Ink Pigment | 50 caps | hunt 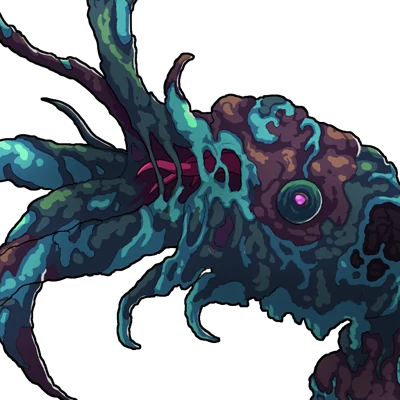 Inkbloat a new character wins 0% Inkbloat a new character wins 0% | — |
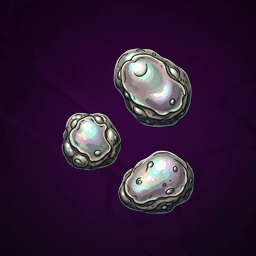 Pearlescent Nodules Pearlescent Nodules | 50 caps | hunt 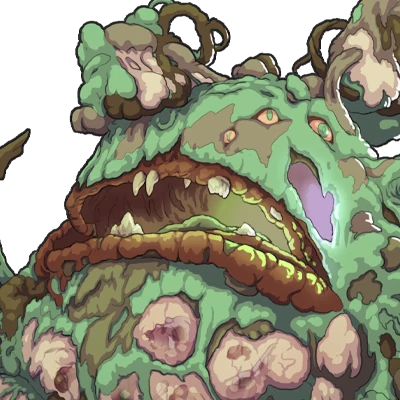 Mimic a new character wins 0% Mimic a new character wins 0% | — |
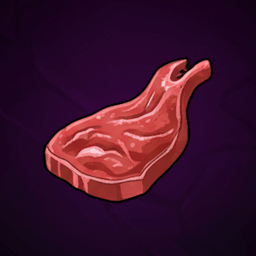 Mutated Rat Meat Mutated Rat Meat | 25 caps | hunt Small Mutated Rat a new character wins 88% | — |
11 more items, from stronger enemies
| Item | NPC pays | How a new character gets it | Caps an hour |
|---|---|---|---|
 Decohered Dust Decohered Dust | 150 caps | hunt 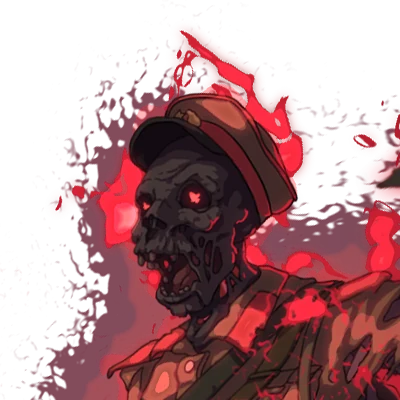 Chrono-Wraith a new character wins 0% Chrono-Wraith a new character wins 0% Forgotten Witness a new character wins 0% +1 Forgotten Witness a new character wins 0% +1 | — |
 Depleted Actuator Coil Depleted Actuator Coil | 150 caps | hunt 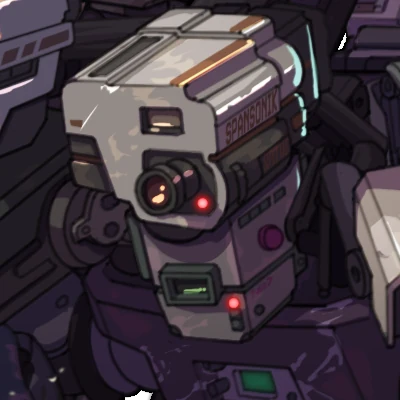 WARDOG a new character wins 0% WARDOG a new character wins 0% | — |
 Matted Rad-Fur Matted Rad-Fur | 150 caps | hunt  Mutated Bear a new character wins 0% Mutated Bear a new character wins 0% | — |
 Scorched Ants Scorched Ants | 150 caps | hunt  Fire Ant Colony a new character wins 0% Fire Ant Colony a new character wins 0% Scrapper Supervisor a new character wins 0% Scrapper Supervisor a new character wins 0% | — |
 Static-Burned Wing Static-Burned Wing | 150 caps | hunt  Thunderhead a new character wins 0% Thunderhead a new character wins 0% | — |
 Burned Circuit Module Burned Circuit Module | 100 caps | hunt  Sentinel a new character wins 0% Sentinel a new character wins 0% Iron Wolf Breacher a new character wins 0% +1 Iron Wolf Breacher a new character wins 0% +1 | — |
 Chrono Residue Chrono Residue | 100 caps | hunt  Temporal Echo a new character wins 0% Temporal Echo a new character wins 0% Scrapper Blaster a new character wins 0% +3 Scrapper Blaster a new character wins 0% +3 | — |
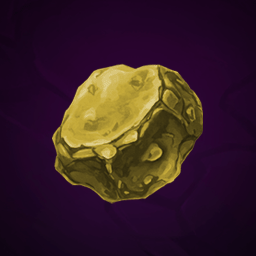
 Desert Glass Desert Glass | 100 caps | containers Anomalous Rock Formation | — |
 Irradiated Chitin Plate Irradiated Chitin Plate | 100 caps | hunt 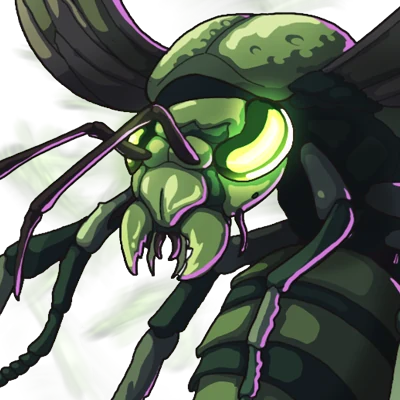 Geiger Wasps a new character wins 0% Geiger Wasps a new character wins 0% | — |
 Prismatic Feather Prismatic Feather | 100 caps | hunt  Dust Devil Raven a new character wins 0% Dust Devil Raven a new character wins 0% | — |
 Quartz Crystal Quartz Crystal | 25 caps | containers Strange Rock Formation, Valuable Rock Formation | — |
Caps an hour counts only the gathering, at the base speed: no travel, no tool or skill bonus. For hunting there is no number because the game does not tell the drop chances.
Selling to other players
The player market exists in Aniid Kin, Twin Rocks, Prosperity, Frontier; you must be there to sell and to buy. Listing costs 3% of the total up front and 10% comes off each sale.
What players bought most in the last 7 days:
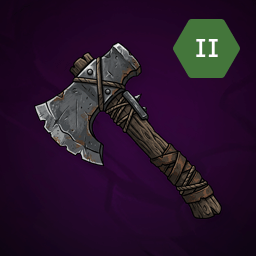
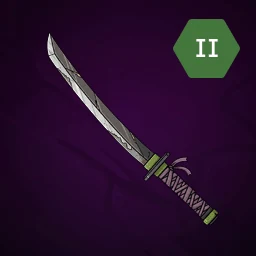
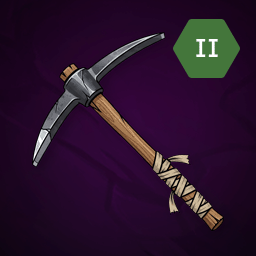
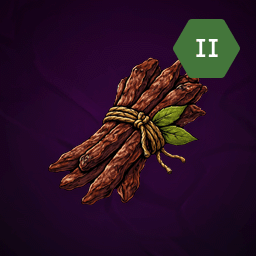
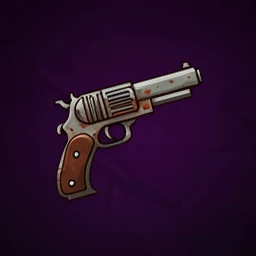
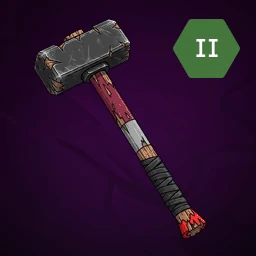
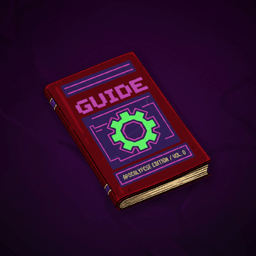
Quests
All the quests in the game pay 500 caps together, 250 caps of that in the tutorial: Homework (Part 2)150 caps Walking in Balance (3/4)150 caps Homework100 caps Walking in Balance (2/4)100 caps
How to gather
- Long-press a hex on the map, open the location and press the resource. Your character walks there by itself and keeps working while the game is closed.
- One unit takes 20 s before bonuses. Your mastery and a better tool make it faster, and a better tool can give an extra unit.
- The tool's tier limits the resource's tier: makeshift tools only work tier 0 resources. A few resources need no tool at all.
- 5 actions can wait in the queue after the one you are doing.
- Gathering stops when the inventory is full. Keep a few slots free before you queue a long run.
What a new character can already gather
| Resource | Gives | Tool | Nearest to the start |
|---|---|---|---|
| Debris | no tool | 10,1 15 s from the start · 52 spots | |
| Juniper Berries Bush | no tool | 10,1 15 s from the start · 51 spots | |
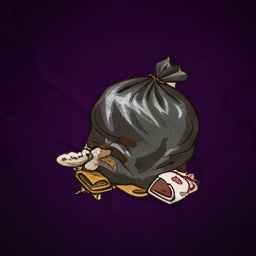
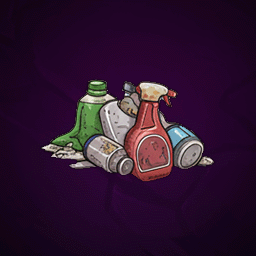
 Pre-War Garbage Pile Pre-War Garbage Pile | no tool | 11,1 15 s from the start · 66 spots | |
| Dead Tree |  Makeshift Axe Makeshift Axe | 10,3 30 s from the start · 174 spots | |
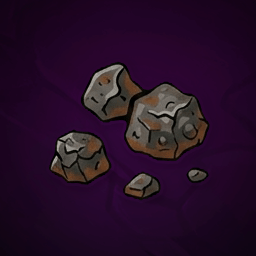
 Iron trace Iron trace | 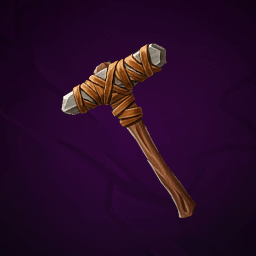 Makeshift Pickaxe Makeshift Pickaxe | 9,1 30 s from the start · 56 spots | |
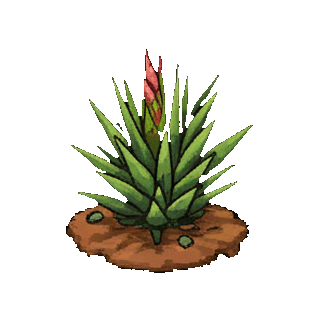 Yucca Yucca | 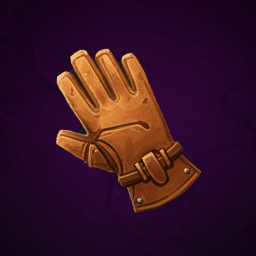 Crude Leather Gloves Crude Leather Gloves | 9,1 30 s from the start · 82 spots | |
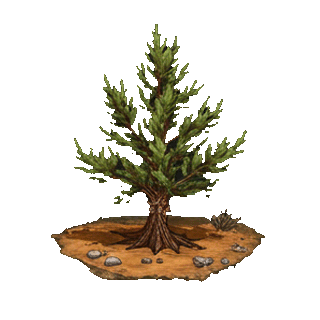 Pinyon Pine Tree Pinyon Pine Tree | Crude Leather Gloves | 13,3 35 s from the start · 61 spots | |
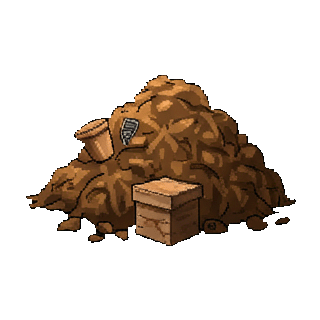 Pre-War Refuse Pile Pre-War Refuse Pile | no tool | 13,1 35 s from the start · 65 spots | |
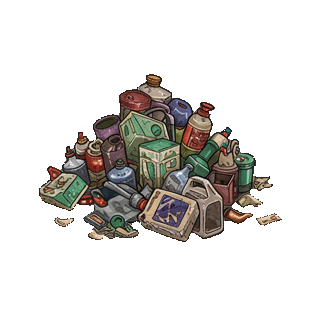 Pre-War Consumables Pile Pre-War Consumables Pile | no tool | 8,4 1 min from the start · 49 spots | |
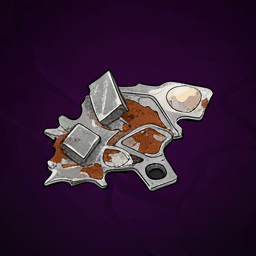
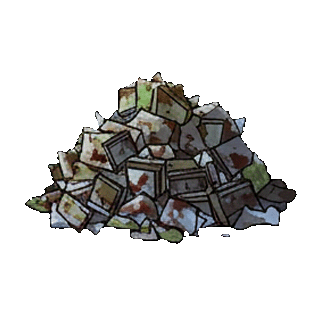 Pre-War Metal Pile Pre-War Metal Pile | no tool | 16,2 2 min from the start · 37 spots | |
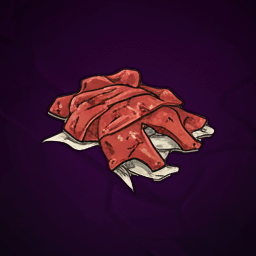
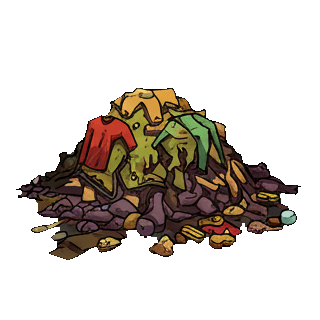 Pre-War Clothing Pile Pre-War Clothing Pile | no tool | 17,1 2 min from the start · 38 spots | |
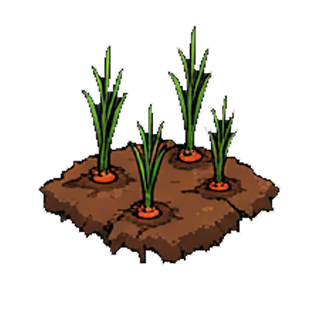 Carrot Patch Carrot Patch | Crude Leather Gloves | 4,4 2 min from the start · 52 spots |

How to craft
- A recipe needs four things: the blueprint, the ingredients (in your inventory or in the storage of that place), the right facility at a high enough level, and the skills it asks for.
- You must be standing at the facility: unlike gathering, crafting does not walk there for you.
- Tier 1 blueprints are permanent. Tier 2 and above are used up when you craft.
- Many recipes also ask for a tool in the inventory. The tool is not used up.
- Basic blueprints are sold by NPC traders. Better ones are found, earned or invented from research.
Your first recipe
To get any item, ask the planner: it draws the whole path — what to gather, buy, craft and train, where and in which order.
Who a new character can fight
You never attack an enemy directly: you order Track & Engage and the fight runs by itself, even with the game closed. You need more than half your health to start.
| Enemy | HP | A new character wins | Nearest to the start | Drops that NPCs buy |
|---|---|---|---|---|
| Small Scorpion | 20 | 100% | 10,1 15 s from the start · 6 spots | — |
| Small Mutated Rat | 30 | 88% | 9,1 30 s from the start · 150 spots | |
| Inkbloat | 50 | 0% | 7,0 1 min from the start · 118 spots | |
| Giant Scorpion | 55 | 0% | 8,0 50 s from the start · 152 spots | |
| Mimic | 60 | 0% | 17,5 2 min from the start · 86 spots | |
 Wolf Whelp Wolf Whelp | 60 | 0% | 17,4 2 min from the start · 53 spots | — |
| Rad Runner | 70 | 0% | 15,8 2 min from the start · 63 spots | |
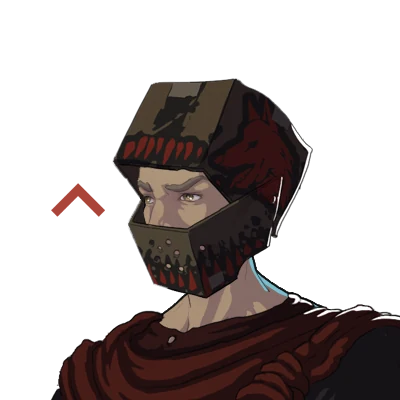 Wolf Bruiser Wolf Bruiser | 80 | 0% | 8,8 2 min from the start · 20 spots | — |
| Arcade Revenant | 85 | 0% | 17,2 2 min from the start · 21 spots | |
 Wolf Enforcer Wolf Enforcer | 90 | 0% | 26,4 4 min from the start · 6 spots | — |
 Wolf Gunner Wolf Gunner | 115 | 0% | 9,9 2 min from the start · 7 spots | — |
| Dust Devil Raven | 160 | 0% | 29,1 6 min from the start · 110 spots |
200 simulated fights each, with the Wooden Stick from the tutorial, no armor, no medication and every skill at level 1. With better gear the numbers change: test yours in the battle simulator.
Battle simulator Plan a hunt: the gear to win Game guide: fights
How to get stronger
No weapon or armor is the best in every fight. The developer balances the game that way on purpose and adjusts it in almost every update, so getting stronger is not about one perfect build: raise what always helps, keep more than one answer for different enemies and check each enemy before you go. The numbers on this page are recalculated whenever the game changes.
What always helps
- Vitality gives 10 health per level and goes up with every enemy you defeat, whatever you fight with: from 60 health at level 1 to 150 at level 10.
- Each use of a
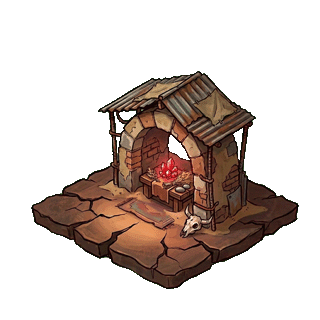 Mysterious Shrine adds 1 to your maximum health, up to 25 times.
 - A mastery only grows with its own class of weapon or armor. It opens tier 2 at level 4 and tier 3 at level 7, and on the way to the last level adds +4 to hit and +3 damage (weapons) or +3 armor and +3 defense (armor).
- Armor mastery bonuses only count when the three pieces are of the same class.
- Each class also has a specialisation with perks. It earns experience in 25% of the times the mastery does, so perks come from sticking with a class.
- If a fight ends with less than 75% of your health, your character eats up to five foods from the inventory. Medications on the belt heal during the fight.
The loop
- Wear a full armor set of one class and pick one weapon class: every fight raises both masteries and Vitality.
- Hunt only what you beat nine times out of ten and sell what drops to NPC traders.
- Cook food from what you gather and hunt, so you can chain fights without waiting to heal.
- When a mastery reaches level 4, move that class up to tier 2; at level 7, to tier 3. Craft the gear or buy it: the planner compares both.
- Check each new enemy in the battle simulator before you go: the best gear changes from one enemy to the next.
Food and medication to keep fighting
| Item | Heals | Ingredients and how a new character gets them | Facility | New character |
|---|---|---|---|---|
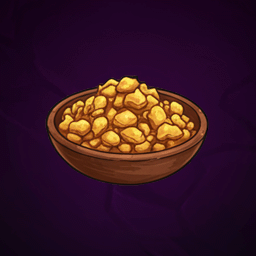 Mesa Trailmix Mesa Trailmix | +25 | Kitchen lv 1 | ✓ you can already make it | |
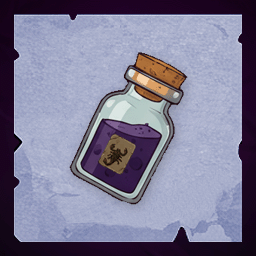
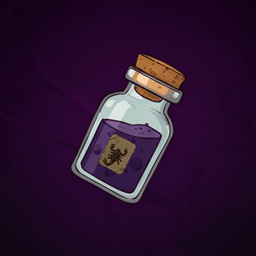 Scorpion Sting Tonic Scorpion Sting Tonic | +10 | Kitchen lv 1 | ✓ you can already make it | |
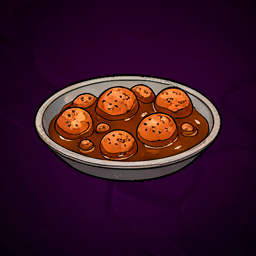 Desert Survivor Stew Desert Survivor Stew | +50 | Kitchen lv 1 | — | |
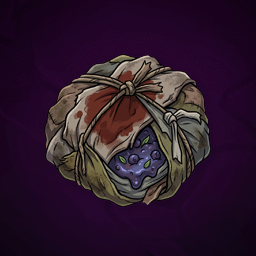 Juniper Wrap Juniper Wrap | +30 | Lab lv 1 | — | |
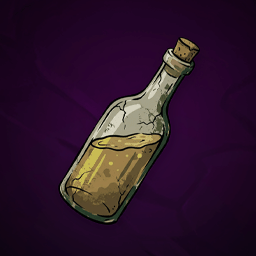 Rotgut Rotgut | +30 |  Water×2 ✓ sold by NPC traders Water×2 ✓ sold by NPC traders | Kitchen lv 1 | — |
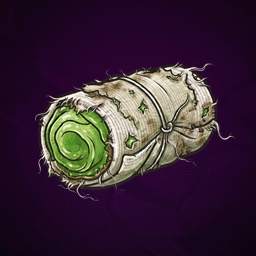 Aloe Wrap Aloe Wrap | +15 |  Cotton Fibers×2 crafted Cotton Fibers×2 crafted | Lab lv 1 | — |
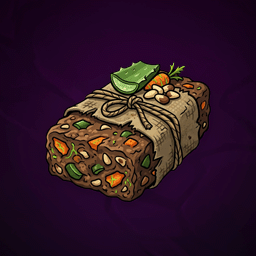 Forager's Pemmican Forager's Pemmican | +15 | Kitchen lv 1 | — | |
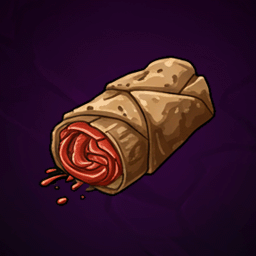 Smoky Inkbloat Wrap Smoky Inkbloat Wrap | +15 | Kitchen lv 1 | — |


Tier 1 food and medication that has a recipe, first what a new character can already make.
What wins the most fights today
Every weapon class with every armor class, at each stage, against the common enemies of that tier: 60 simulated fights per matchup, with the rules of the battle simulator. A stage is a level: weapon mastery, armor mastery and Vitality at that level, with the gear of the tier it unlocks and the specialisation perks you would have by then. No medications, no buffs.
What each stage can handle
| Stage | Gear | Health | Pair that wins the most | It beats | A typical pair beats |
|---|---|---|---|---|---|
| Level 1 | T1 | 60 | Assault Rifles + Light | 5 of 11 | 3 of 11 |
| Level 3 | T1 | 80 | Shotguns + Heavy | 8 of 11 | 4 of 11 |
| Level 4 | T2 | 90 | Miniguns + Medium | 8 of 13 | 1 of 13 |
| Level 6 | T2 | 110 | Launchers + Medium | 12 of 13 | 6 of 13 |
| Level 7 | T3 | 120 | Assault Rifles + Improvised | 5 of 14 | 1 of 14 |
| Level 10 | T3 | 150 | Launchers + Medium | 14 of 14 | 9 of 14 |
New gear does not make you ready for that tier at once: right after a tier unlocks, even the best pair loses to most of its enemies. The levels after that are what close the gap.
Weapon classes: enemies of the tier beaten at each stage
| Class | Lv 1 · T1 | Lv 3 · T1 | Lv 4 · T2 | Lv 6 · T2 | Lv 7 · T3 | Lv 10 · T3 | Shots per fight |
|---|---|---|---|---|---|---|---|
| Miniguns | 5/11 | 6/11 | 8/13 | 11/13 | 4/14 | 14/14 | 25–38 |
| Assault Rifles | 5/11 | 6/11 | 6/13 | 11/13 | 5/14 | 11/14 | 18–33 |
| Shotguns | 3/11 | 8/11 | 5/13 | 11/13 | 3/14 | 13/14 | 10–16 |
| Launchers | 3/11 | 5/11 | 4/13 | 12/13 | 4/14 | 14/14 | 6–8 |
| Semi Auto Rifles | 4/11 | 6/11 | 4/13 | 11/13 | 2/14 | 12/14 | 11–28 |
| SMGs | 3/11 | 5/11 | 5/13 | 11/13 | 2/14 | 11/14 | 21–33 |
| Pistols | 3/11 | 4/11 | 4/13 | 11/13 | 2/14 | 10/14 | 6–9 |
| Sharp Melee | 3/11 | 5/11 | 1/13 | 6/13 | 3/14 | 13/14 | no ammo |
| Blunt Melee | 3/11 | 4/11 | 1/13 | 6/13 | 2/14 | 11/14 | no ammo |
| Bolt Action Rifles | 4/11 | 5/11 | 1/13 | 4/13 | 2/14 | 9/14 | 6–10 |
| Sniper Rifles | 3/11 | 5/11 | 0/13 | 5/13 | 1/14 | 10/14 | 7–13 |
Each class with the armor that suits it best at that stage. Shots per fight is ammunition you have to make or buy; melee uses none.
Armor classes: enemies of the tier beaten at each stage
| Class | Lv 1 · T1 | Lv 3 · T1 | Lv 4 · T2 | Lv 6 · T2 | Lv 7 · T3 | Lv 10 · T3 |
|---|---|---|---|---|---|---|
| Medium | 5/11 | 6/11 | 8/13 | 12/13 | 4/14 | 14/14 |
| Heavy | 5/11 | 8/11 | 6/13 | 11/13 | 4/14 | 10/14 |
| Light | 5/11 | 6/11 | 4/13 | 10/13 | 4/14 | 12/14 |
| Improvised | 4/11 | 6/11 | 5/13 | 7/13 | 5/14 | 12/14 |
| Hi-Tech | 3/11 | 5/11 | 6/13 | 11/13 | 4/14 | 9/14 |
Each class with the weapon that suits it best at that stage. Armor mastery only counts with the three pieces of the same class.
These are the generalists of the moment, not the right answer to every enemy: a class that looks weak here can be the best one against a single enemy, and a perk can change the picture (heavy armor, for example, is balanced around the specialisation perk that turns half of the critical hits into normal ones).
Against each enemy the answer changes
Each armor class resists one damage type more than the others, and each enemy hits with one type. This is how many common enemies use each type:
| Damage type | Armor that resists it most | Tier 1 enemies | Tier 2 enemies | Tier 3 enemies |
|---|---|---|---|---|
| Pierce | Medium | 3 | 5 | 5 |
| Slash | Improvised | 2 | 2 | 4 |
| Blunt | Heavy | 3 | 3 | 1 |
| Energy | Hi-Tech | 1 | 2 | 1 |
| Chemical | Light | 2 | 1 | 1 |
| Explosive | no class | 0 | 0 | 2 |
Battle simulator Plan a hunt: the gear to win Combat numbers Best gear against each enemy
The basics, in the game's own words
The guide that comes with the game, section by section. The text is the game’s, so it stays in English.
- WorldThe wasteland is a grid of hexagonal locations. Each one has a terrain type, a safety level, and whatever happens to be standing on it: resource nodes, hostile NPCs, friendly characters and other players.
- ActionsActions are orders you give your character. Once an action is given you don't need to be present for it to finish - it runs while the app is closed.
- FightsFights are one against one, turn based, and resolved by the server. A turn passes every ten seconds. You can watch it live or close the game and read the log later.
- Combat statsEverything below is decided from the gear you had equipped when the fight started.
- Skills and XPSkills are what your character is actually good at. They gate the gear you can use and the recipes you can attempt, and they quietly decide most fights.
- ItemsTypes of items
- BuffsBuffs are temporary states. Most come from something you ate, drank or injected; a few come from places out in the wasteland.
- Crafting & InventionCrafting is where the good gear comes from. Nothing you find in the wasteland matches what you can build once you have the recipe, the skill and a workshop to do it in.
- PVPHunting other players is possible, deliberate, and expensive. There is no way to do it by accident and no way to do it quietly.
- ArenaThe Virtual Arena is player against player without the risk. You upload a copy of your character at a Virtual Arena building, and from then on that copy is matched against other players' copies on a fixed cycle, whether or not…
- ElitesElites are the hardest fights in the game. They are not wandering the map waiting to be found - you summon them, and you get exactly one attempt.
- QuestsQuests are given by named NPCs in settlements and camps. Press their portrait on the Location screen to talk to them.
- Factions & ReputationThe factions
- TradingCaps are the currency of the wasteland. You earn them from quests, tasks, NPC traders and other players, and you spend them on almost everything.
- Points of InterestThings turn up out in the wasteland that were not there yesterday: a camp, a wreck, a well, a shrine, a purple haze that should not be standing still.